
Adding Widgets to a Dashboard
Select ‘Clients’ from the menu on the left hand side of the page and then 'view/edit' your chosen Client
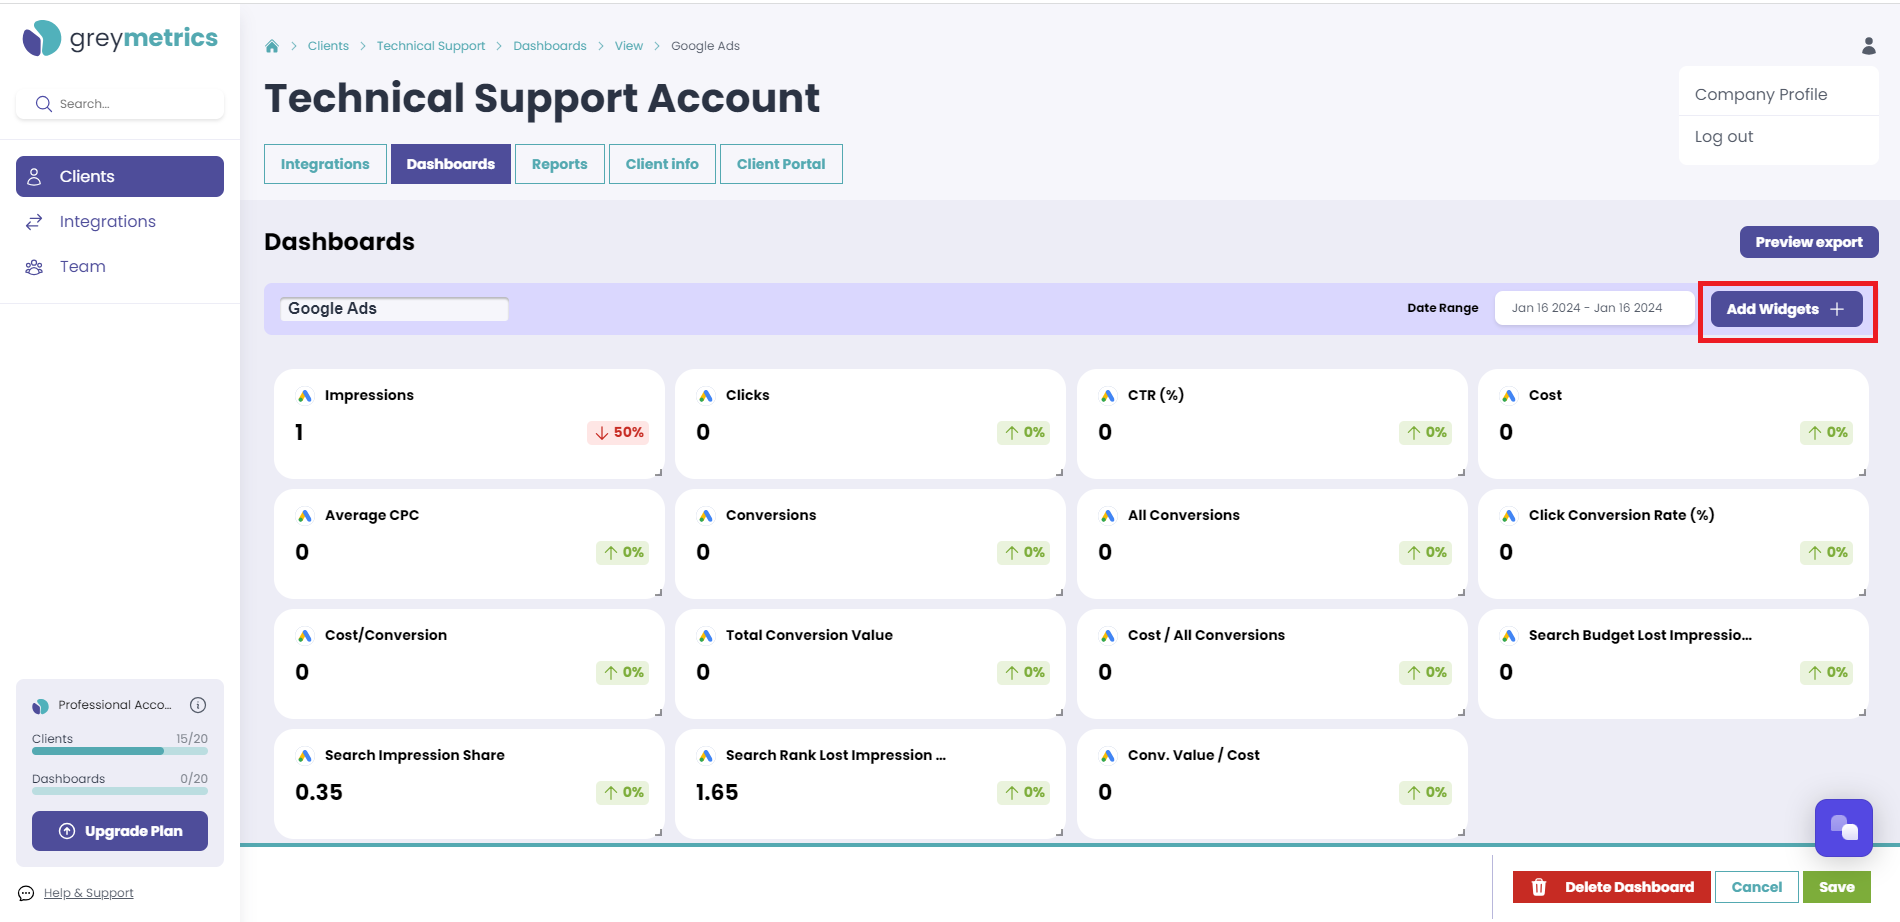
Within each Client, the Dashboard tab lists all the Dashboards created
In the 'Actions' column, click the pencil icon to open the Dashboard of your choice in edit mode;

Next, select 'Add Widget':
Two options are presented, 'Add Widget' and / or 'Add Static Widget';
Add Widget;
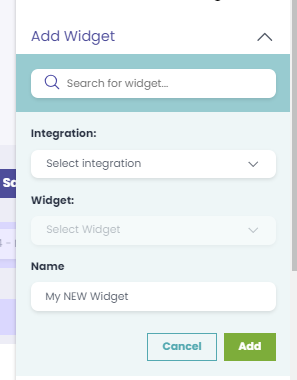
To find a specific widget, use the search bar at the top by entering the widget name
Alternatively, you can refine your search by choosing a specific integration and browsing through the list of widgets that are available.
NOTE - If you prefer, you can rename the widget before adding it to your Dashboard
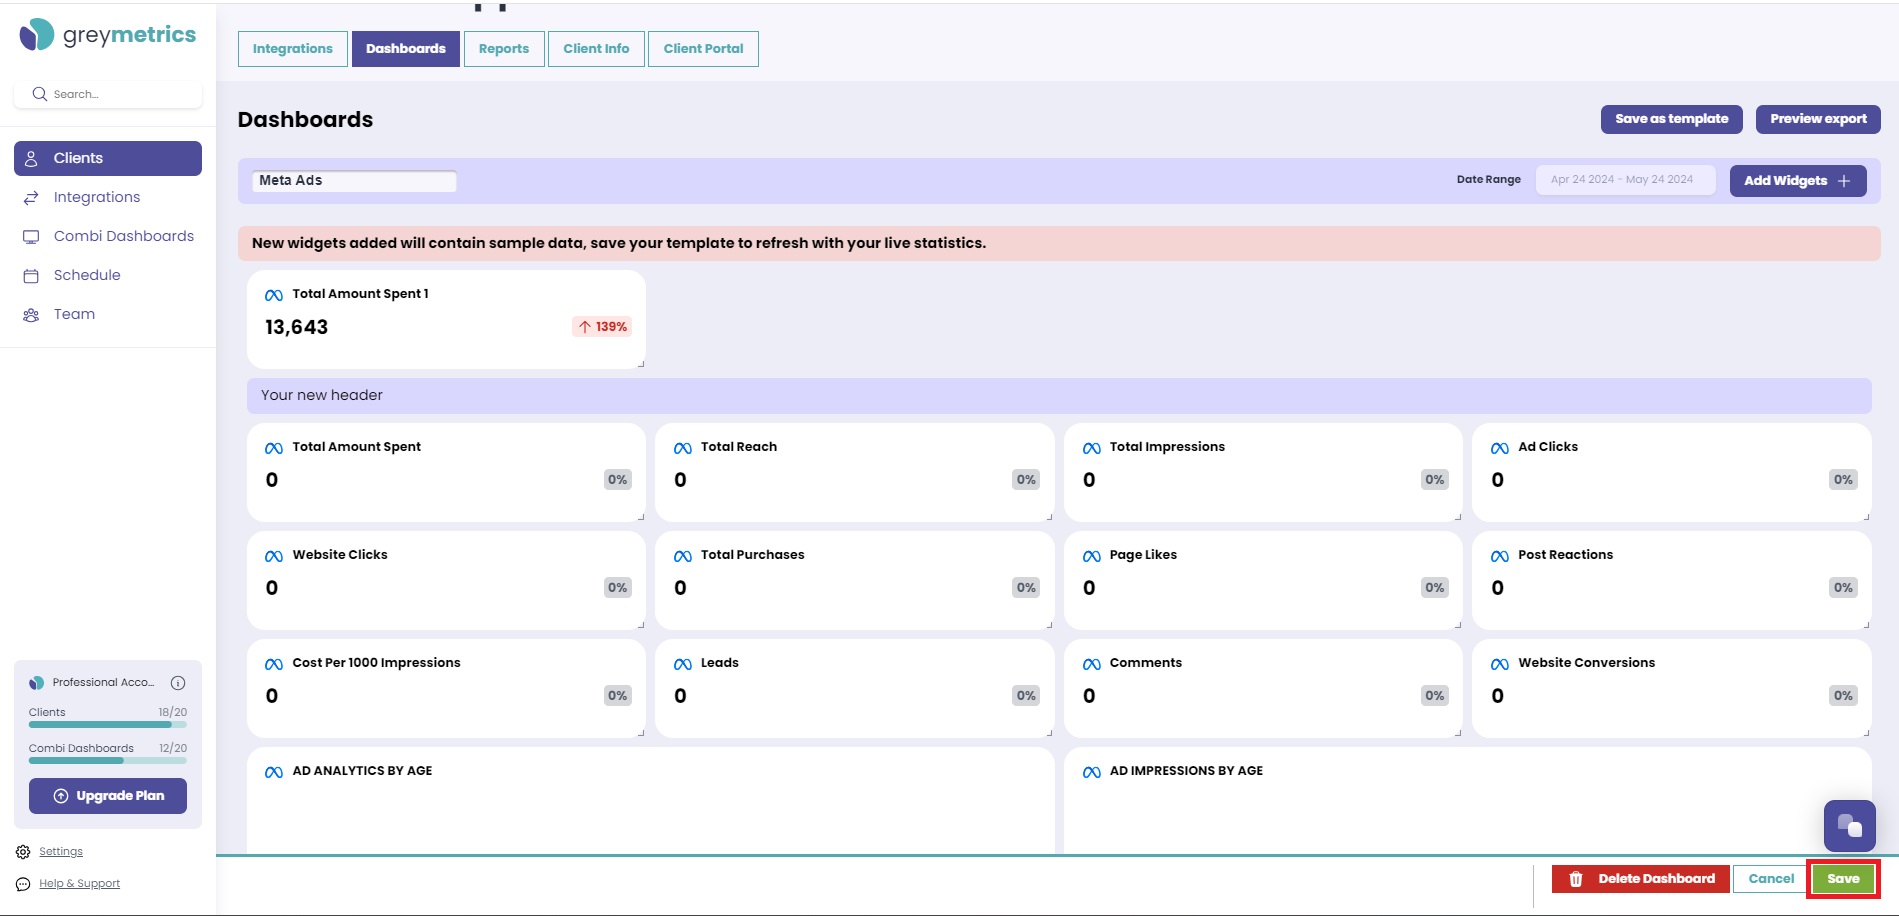
To add a widget to your Dashboard, simply select 'Add'. You can then click and drag widgets to display them in a format of your choice
NOTE - The new widget will come with sample data. Don't forget to save your Dashboard template by clicking on the 'save' button located at the bottom right corner of the screen - this will ensure the widget updates with your live data;
Add Static Widget
Here you have three options;
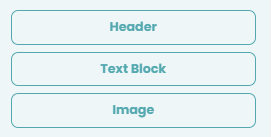
Once added to your Dashboard, click the three dots at the top right of your new widget and select 'Edit' to add your header, text, or image of choice;

Click and drag widgets to display them in your desired format, and then 'Save' at the bottom right of the screen when happy with your Report
NEXT - Edit Dashboard Widgets