
Creating a new Dashboard - Custom Template
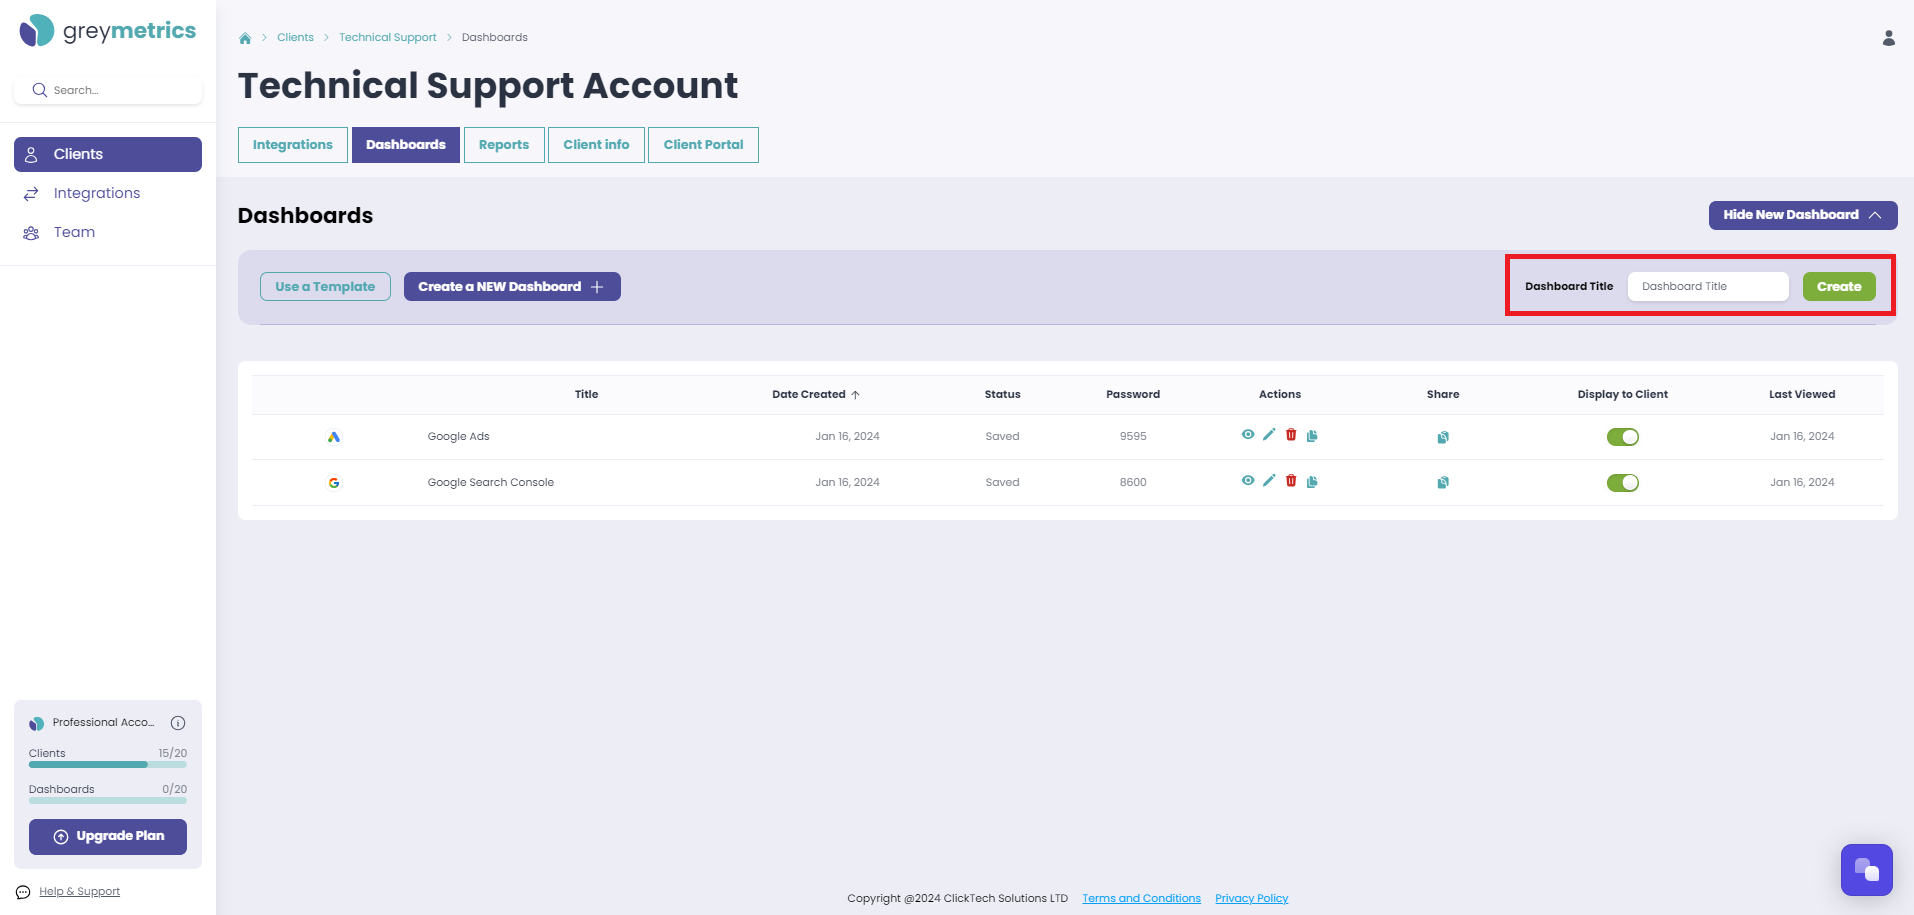
There are two options are available to create a new Dashboard, 'Use a Template' or 'Create a NEW Dashboard'
NOTE - Before creating a Dashboard, please ensure you have linked your Integrations to the Client
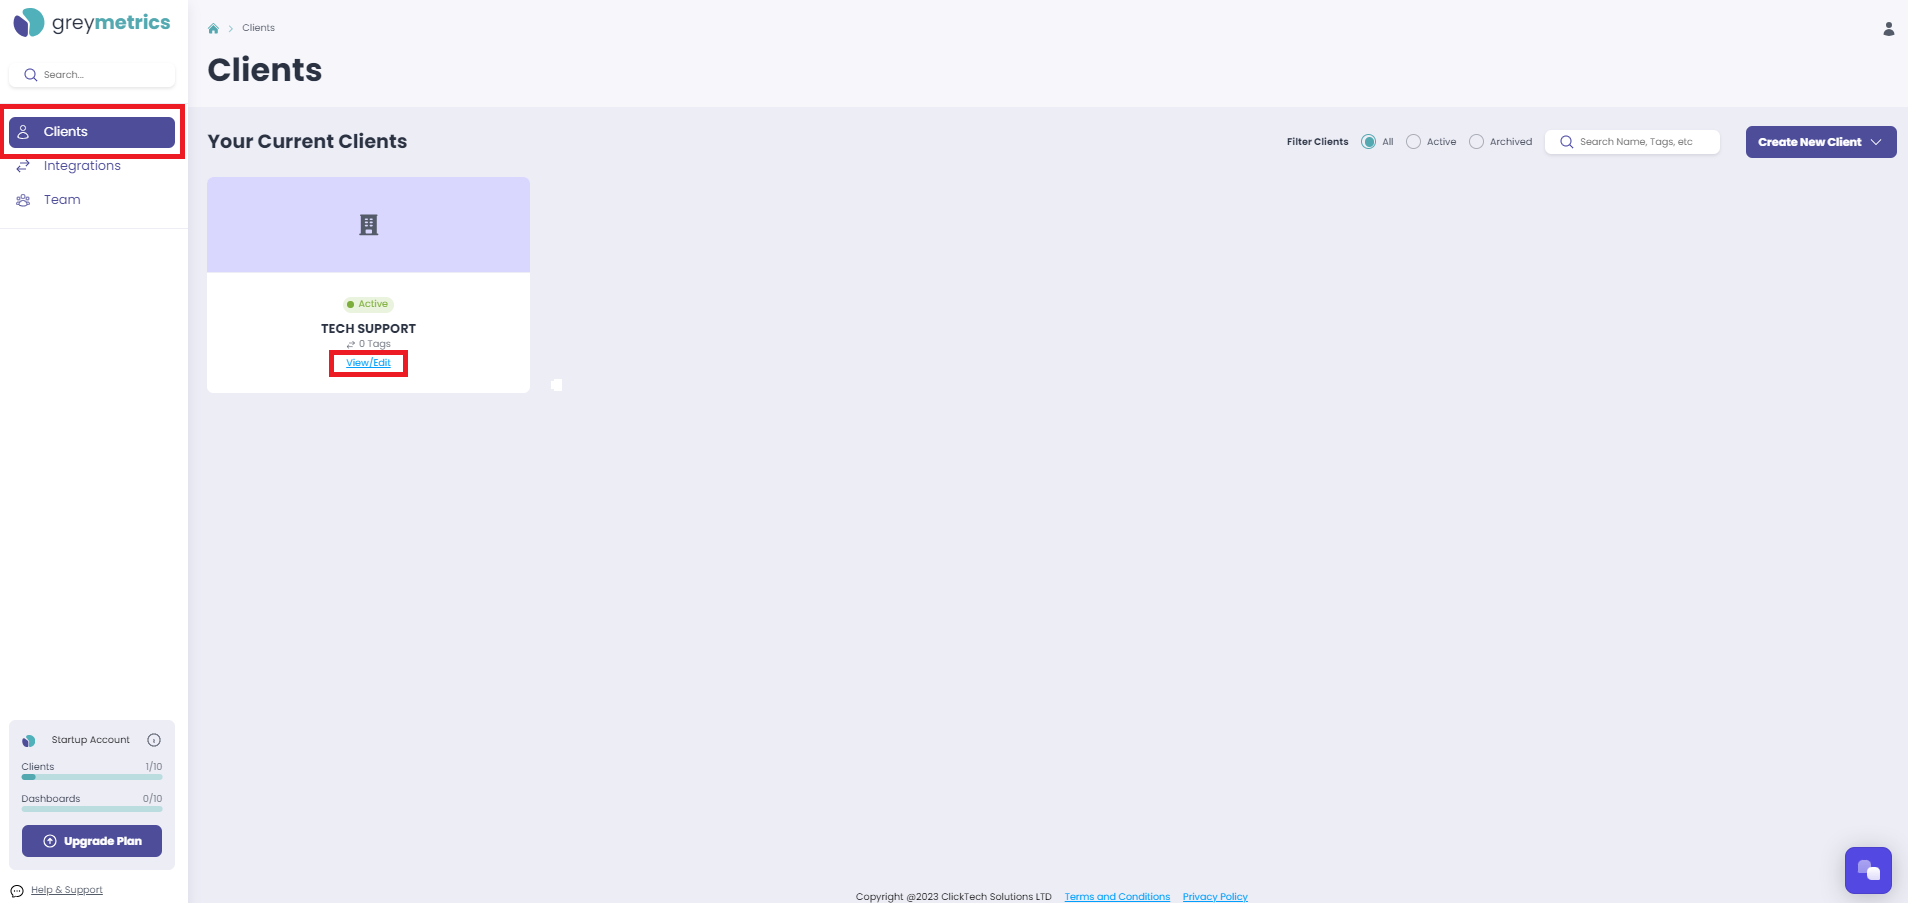
'Select ‘Clients’ from the menu on the left hand side of the page, then 'View / Edit ' the Client you wish to work with:
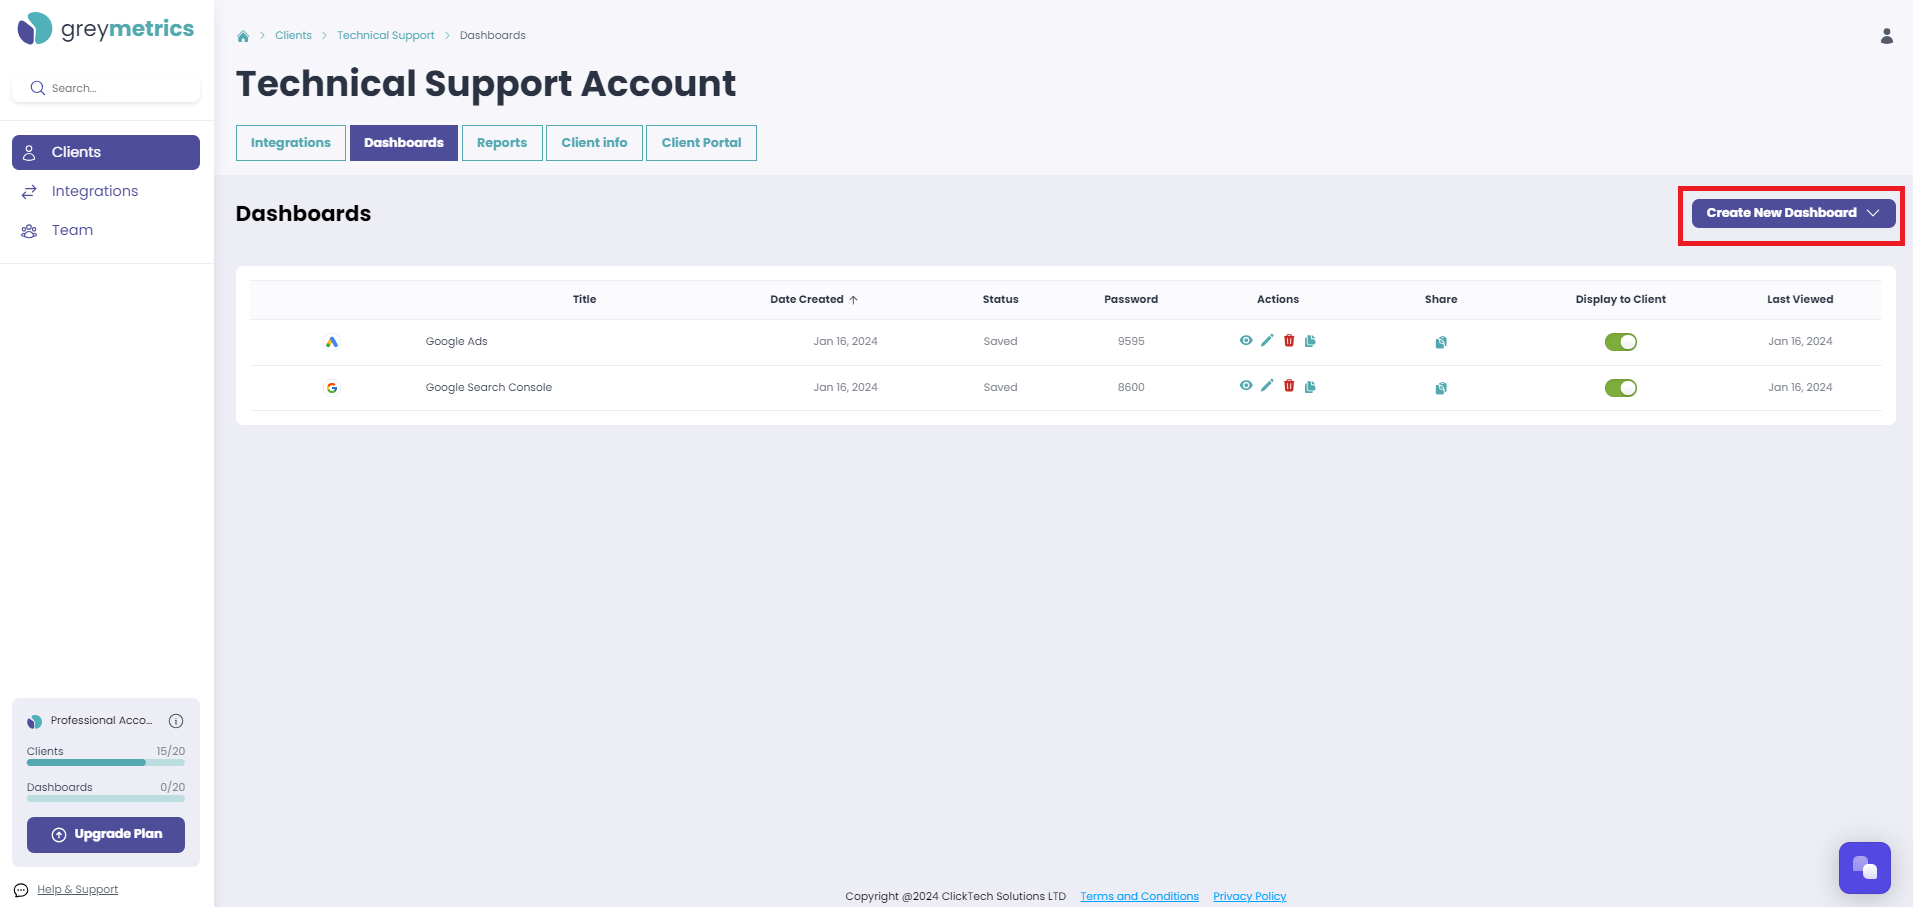
Select the 'Dashboards' tab, and then on the right hand side of the page 'Create New Dashboard':
First, enter your new Dashboard name and confime by clicking 'Create'
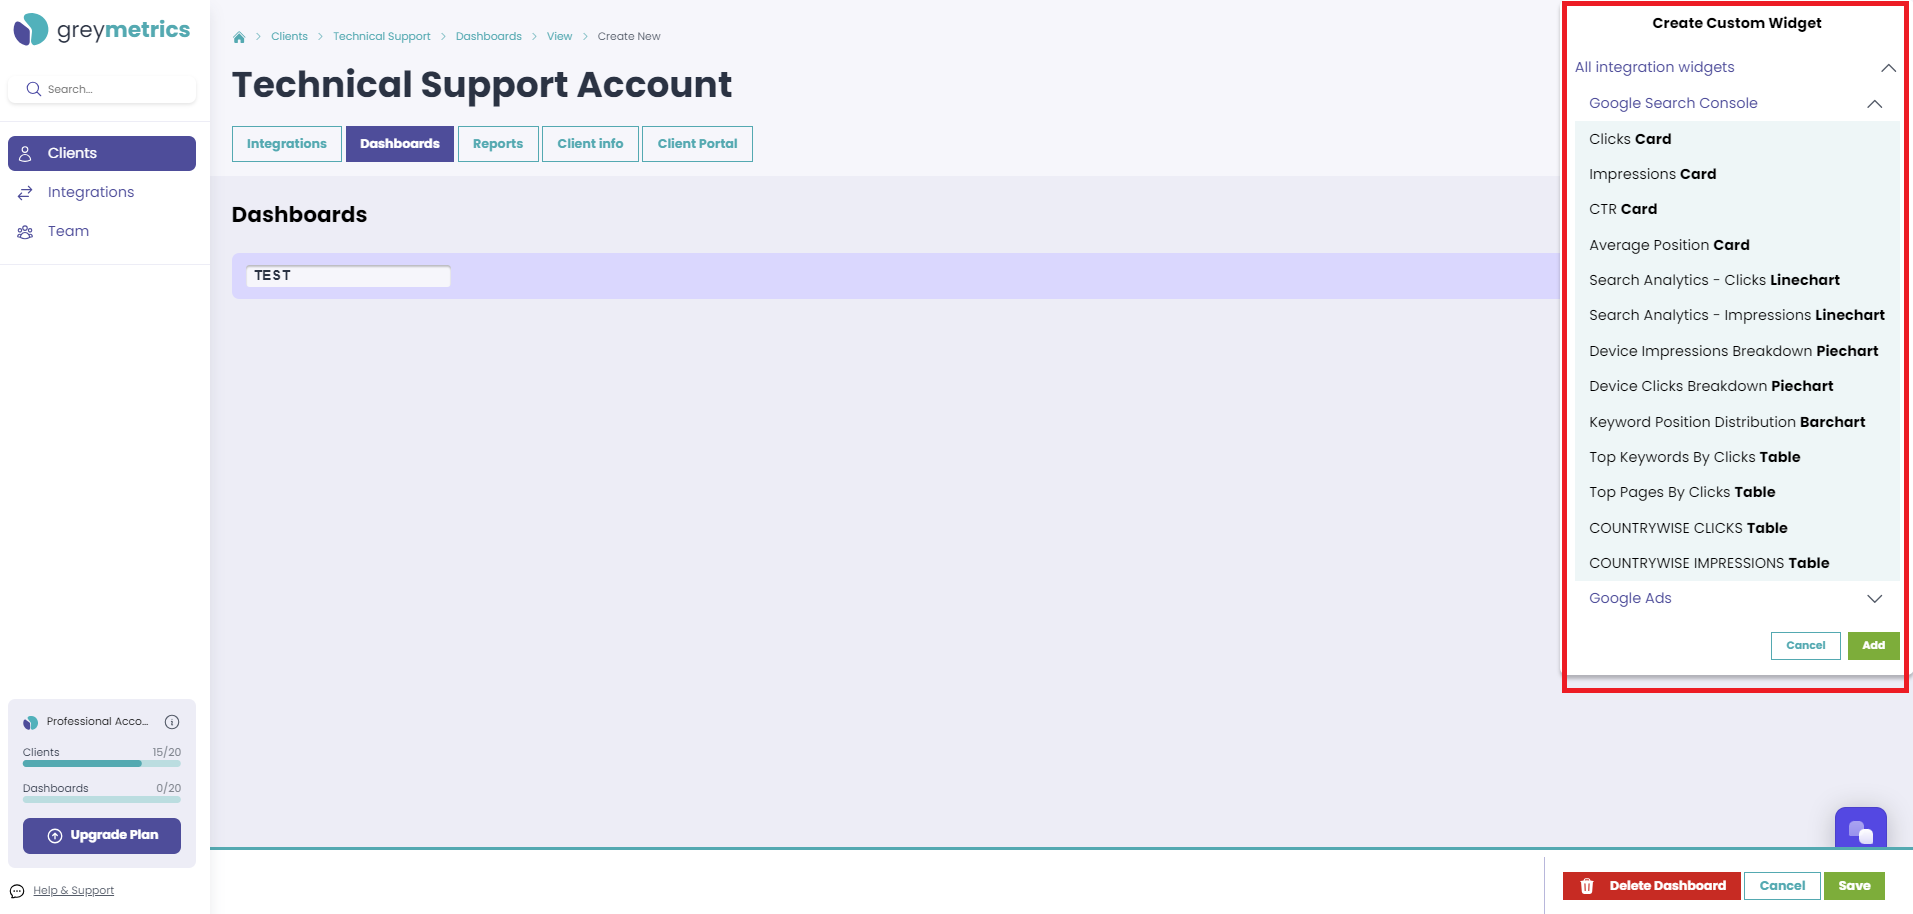
Selecting 'Add Widgets' and the Integration of your choice, will present the full list of all metric widgets to select and add to your new Dashboard:
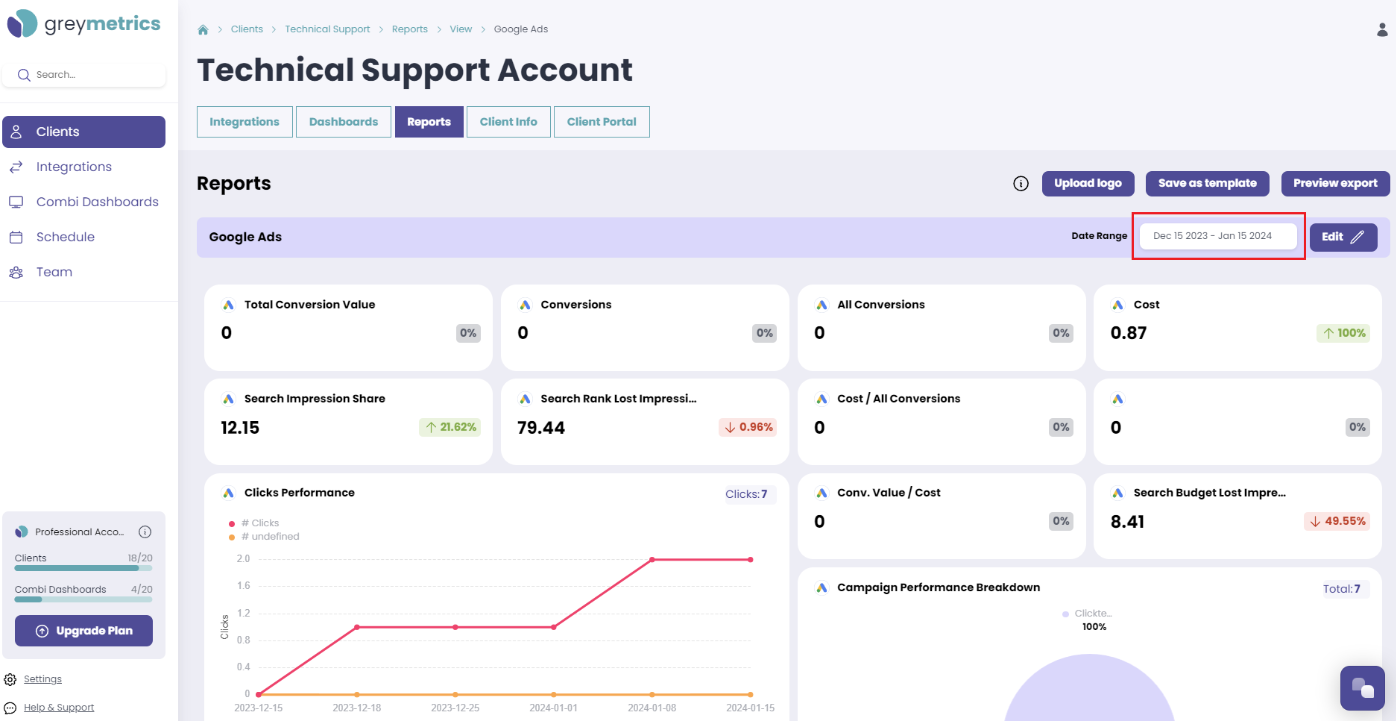
Once widgets have been added, your new Dashboard can be saved and then a date range can be applied
At the top right of your new Dashboard is the date range selector, clicking this field presents a pop up to select the date range you wish to include:
Below the calendar, select whether to compare with the Previous Range / Custom Range / No Comparison:
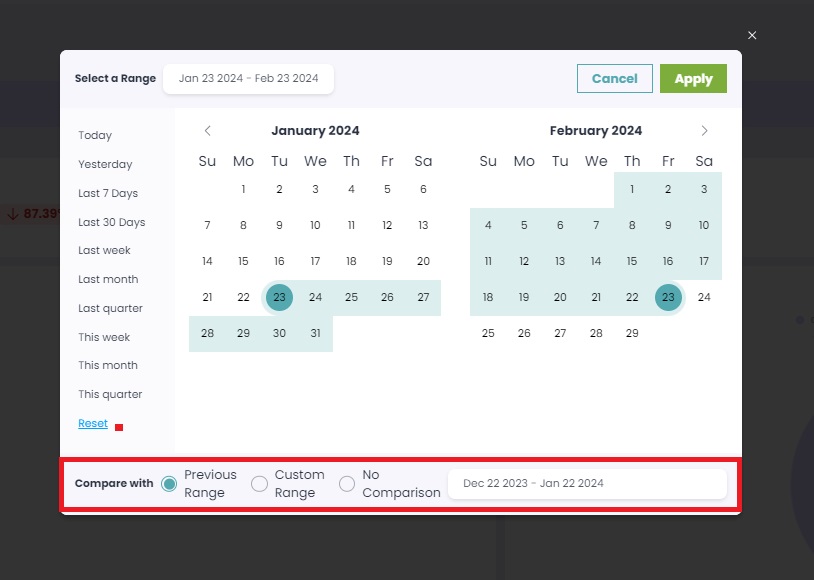
Click 'Apply' once you are happy with your selection
NOTE - Dashboards are live and will automatically update daily to display the selected timeframe - for example, today / last 7 days / last 30 days
NOTE - If you click on the 'Dashboards' tab while viewing your new Dashboard, you will be redirected to the complete list of all Dashboards that have been run, and your new Dashboard will be displayed at the top of the list
NEXT STEP - Editing a Dashboard